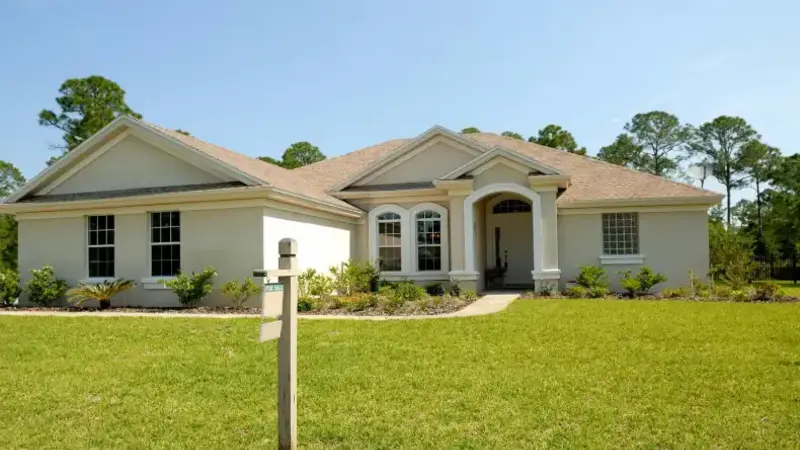
Exterior paint gets talked about as if it can solve almost anything. Faded siding, tired trim, old clapboards, weathered shutters. Open a fresh can, roll on a new color, and the house looks renewed.
But on an older New England home, paint is not a magic trick. It is more like a tailored coat. It sits on top of whatever shape the house is already in. If the wood underneath is soft, if water is getting behind the trim, if the old coating is peeling or chalking, the new finish will usually tell on it sooner rather than later.
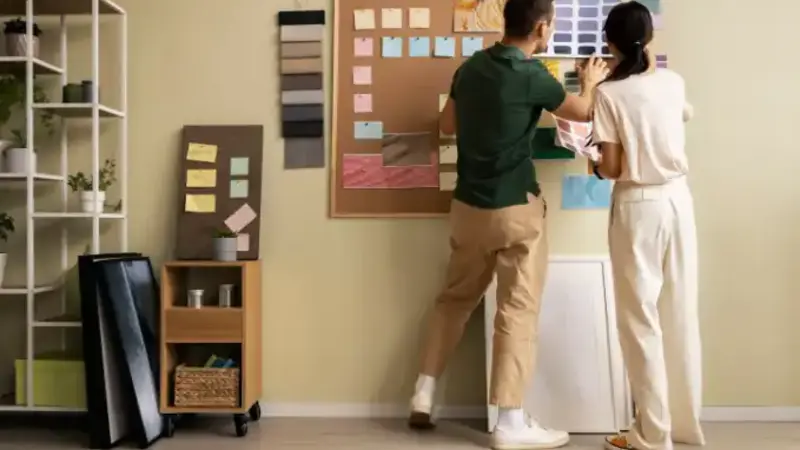
That is why prep matters so much. Homeowners researching house painters Dover or planning an exterior repaint anywhere in eastern Massachusetts are often asking the wrong first question. The first question is not “What color should we choose?” It is “What needs to be fixed before paint touches the house?”
In New England, that question carries extra weight. Massachusetts has one of the oldest owner-occupied housing stocks in the country, with a median age of 57 years, compared with 40 years nationally. Many homes here are not freshly built surfaces waiting for color. They are older wood, repaired trim, layered coatings, exposed joints, and details that have spent years dealing with moisture, temperature swings, and seasonal wear.
And the stakes are not small. Angi’s 2025 exterior painting benchmarks put the average cost of painting a home exterior at about $3,177, with common pricing around $1.50 to $4 per square foot and broad total ranges from roughly $600 to $7,700 depending on size, condition, paint choice, and access. In other words, a repaint is substantial enough that it makes sense to fix the real problems first rather than pay to coat over them.
Why exterior prep matters more in New England?
New England homes take a particular kind of beating. Long winters, wet springs, humid summers, and leaf-heavy falls all leave marks on exterior surfaces. Paint manufacturers consistently warn that moisture, loose paint, failed caulk, and unstable substrates have to be addressed before painting starts, because new paint does not perform well over surfaces that are already failing. Benjamin Moore recommends removing loose paint, spot-priming unsound areas, and priming before caulking and patching, while Sherwin-Williams advises replacing severely rotted boards, repairing cracks and holes, and caulking around windows and doors after cleaning.
There is also a timing issue. Benjamin Moore says exterior painting is generally workable between 35°F and 100°F, with 77°F as an ideal temperature and low humidity preferred. Sherwin-Williams advises avoiding exterior painting below 50°F or above 90°F for optimal longevity. That does not mean every New England repaint happens in one narrow week, but it does mean the seasonal window is real, and it becomes even more important not to waste that window on preventable prep failures.
A good way to think about it is this: exterior painting season in New England is not a blank check. It is a weather window. If that window is used to coat damaged wood or unstable surfaces, the calendar keeps moving even when the coating starts failing.
The smartest fixes to make before exterior painting
Below are the issues worth treating as repair items, not paint items.
| Fix first | Why it matters | What happens if ignored? |
| Rotten or soft wood | Paint cannot stabilize decayed substrate | Peeling, cracking, or recurring moisture damage |
| Failed caulk | Open joints let water in behind trim and siding | Blistering, paint failure, and wood deterioration |
| Loose or peeling paint | New coatings need a sound base | New paint lifts with the old layer |
| Moisture sources | Water beats paint every time | Stains, rot, mildew, bubbling |
| Mildew, dirt, and chalking | Dirty surfaces reduce adhesion | Premature coating failure |
| Cracks in masonry or trim gaps | Movement and water penetration continue under paint | Visible failure lines and repeat repairs |
1. Rotten or soft wood
This is the big one.
If a board, sill, fascia, corner trim piece, or clapboard is already decaying, paint is not a fix. At best, it hides the problem briefly. At worst, it traps attention on the problem by making it look freshly finished right before the failure returns.
Sherwin-Williams’ prep guidance is straightforward on this point: after cleaning, severely rotted boards should be replaced, and cracks and holes should be repaired with appropriate exterior materials. That matches what experienced painters already know from the field. Rotten wood is not a cosmetic defect. It is a failing substrate.
This is especially important around:
- window sills
- lower trim boards
- door casings
- fascia and soffits
- porch elements
- siding near splash zones or gutter runoff
A simple real-world example: if the lower edge of a wood window sill feels soft or flakes under light probing, the problem is usually not “old paint.” The problem is that moisture has already been winning for a while. Painting over it is like ironing a wrinkled shirt while it is still wet.
Cost-wise, ignoring rot can also turn a paint project into a more expensive repair project later. Angi says dry rot repair averages around $1,400 nationally, with a very wide range from about $150 to $10,000 depending on severity, access, structural involvement, and how much damaged material must be replaced.
2. Failed caulk around windows, doors, and trim joints
Caulk is not glamorous, but it does a huge amount of quiet work on an exterior.
When perimeter joints around windows, doors, trim intersections, and siding transitions start to split or pull away, they create direct invitations for water. Benjamin Moore and Sherwin-Williams both emphasize caulking as part of proper exterior prep because sealing these gaps helps create a more stable system before finish paint is applied.
This is one of the most common places where homeowners underestimate the issue. A failed caulk line can look small from the ground, but small openings repeated across dozens of windows and trim joints add up fast. Water gets behind paint films. Wood swells and shrinks. Coatings blister or crack. The next repaint becomes a rescue job instead of a maintenance job.
It is also one of the more measurable prep items. Angi says professional caulking commonly runs about $50 to $70 per window, and handypeople often charge $50 to $150 per hour for caulking work.
That makes recaulking one of the clearest examples of a relatively modest prep expense protecting a much larger paint investment.
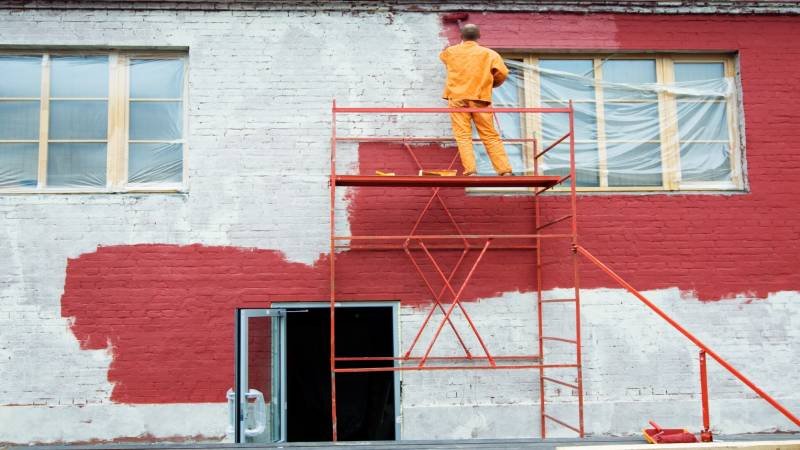
3. Peeling, flaking, or chalking old paint
Old paint has to earn the right to stay.
If the existing coating is sound, compatible, and well-bonded, it can often serve as the foundation for the next system. If it is peeling, scaling, blistering, or shedding chalky residue, it cannot. Benjamin Moore’s prep guidance calls for removing loose paint and spot-priming unsound areas, and its product guidance for peeling surfaces focuses on binding chalky residue and stabilizing weathered substrates after practical removal of failing paint.
Homeowners sometimes hope a premium paint will solve this by itself. It usually will not. New paint only sticks as well as the layer beneath it. If the old paint is letting go, the fresh coat can come off with it.
This is where labor starts driving cost. Angi notes that prep work is one of the major variables affecting painting prices, which is easy to understand once scraping, sanding, feathering edges, and priming enter the picture. Labor for painting services can range from $1 to $6 per square foot depending on project scope and conditions.
Or put more simply: the can of paint is not always the expensive part. The honesty required before the can opens often is.
4. Moisture problems, not just paint problems
One of the most common exterior painting mistakes is treating visible coating failure as the main issue when it is really a symptom.
If paint is blistering, bubbling, or repeatedly peeling in the same area, it often means moisture is getting in. Benjamin Moore’s troubleshooting guidance says that when blisters extend down to the substrate, the moisture source should be corrected if possible, and loose caulking should be repaired. Sherwin-Williams likewise notes that moisture penetration can lead to coating failure and wood decomposition under the coating.
Before exterior painting, homeowners should check:
- leaking or overflowing gutters
- downspouts dumping near the house
- roofline issues above affected paint areas
- splashback near lower siding and trim
- vegetation holding moisture against the house
- failed flashing around windows and doors
This matters because water behaves like a patient opponent. It does not need a dramatic opening. A tiny repeated pathway is enough.
5. Dirty surfaces, mildew, and environmental buildup
A house can be structurally fine and still not be ready for paint.
Exterior surfaces collect dirt, mildew, pollen, airborne residue, and chalking over time. All of that interferes with adhesion. Benjamin Moore and Sherwin-Williams both emphasize surface cleaning before repair and painting, because coatings perform best on clean, stable surfaces rather than contaminated ones.
This is one reason pressure washing or careful exterior cleaning is so often part of prep. Angi says pressure washing costs about $0.10 to $0.50 per square foot depending on the surface and accessibility. That is not a finishing touch. It is foundational prep.
In New England, mildew-prone areas often show up on shaded elevations, under eaves, and where landscaping blocks airflow. Painting over those zones without cleaning them first is a little like putting a tablecloth over crumbs and calling the table set.
6. Cracked masonry, unstable filler, and open transitions
Not every New England exterior is all wood. Many homes combine wood trim with masonry foundations, brick elements, porch bases, or fiber-cement details. The main rule stays the same: if the surface is cracked, moving, or poorly sealed, paint should not be asked to solve it alone.
Sherwin-Williams’ substrate guidance notes that cement-based products and masonry need the right prep and primer approach, including attention to mildew resistance and caulked joints where appropriate. Benjamin Moore also notes that brick should be fully primed before painting.
The broader lesson is that exterior painting works best when transitions are stable. Gaps between materials, failed fillers, and hairline cracks can telegraph back through the finish if they are not handled properly first.
7. Lead-safe concerns in pre-1978 homes
In New England, older homes are common enough that this cannot be treated as a niche issue.
EPA says renovation, repair, and painting work that disturbs lead-based paint in pre-1978 homes can create dangerous lead dust, and covered work by paid contractors must be handled under the agency’s lead-safe RRP rules. EPA also recommends that homeowners planning work in pre-1978 homes consider hiring lead-safe certified contractors.
This matters because many of the “fix it before painting” steps involve exactly the activities that disturb old coatings:
- scraping
- sanding
- repairing damaged trim
- replacing rotten wood
- opening failed joints
- prepping peeling paint
So before an exterior repaint on an older home becomes a design project, it may need to become a compliance and safety project first.
What this means for timing and budget
Homeowners often budget for painting as if it were mostly a materials purchase with some labor attached. Exterior painting rarely works that way, especially on older homes.
The main cost drivers are usually:
- surface condition
- labor time
- access and height
- number of repairs required
- weather window and scheduling pressure
- substrate type
- moisture remediation and prep scope
Angi’s pricing shows why this varies so much: a basic exterior repaint may land near average pricing, while projects with major prep, multiple stories, damaged trim, or weathered surfaces move upward quickly. Pressure washing, recaulking, rot repair, spot priming, and detailed scraping are not distractions from the paint job. They are often what determines whether the paint job lasts.
Conclusion
Before exterior painting in New England, the smartest fixes are usually the least glamorous ones.
Replace the rotten board.
Seal the failed joint.
Find the moisture source.
Stabilize the peeling area.
Clean the surface properly.
Treat old paint with the caution older homes deserve.
That may not be as fun as choosing colors, but it is what makes the finish worth paying for.
A good exterior repaint is not just a new look. It is a weather system built on prep. And on an older New England house, prep is the difference between a finish that ages gracefully and one that starts arguing with the house by next season.